
On this page I will discuss different types of framing of human subjects; I will use the scenario of the interview as our example because it is consistent, familiar, and simple. My hope is that this will help us to have a common language and reference points through which we can inform our creativity.
Despite schools and tutorials teaching a traditional method, it has become increasingly common for people to break those rules in subtle or obvious ways as a way to stand out and give a film a more modern style. While lighting, depth of field, lens characteristic, etc. have an enormous effect on the look of an interview as well, let’s first take a look at variables specifically related to in framing and eye-line. As you will notice in the examples below, the different variables overlap, they can be sometimes be combined, and there is a spectrum of degrees to which they can be applied. Also note that most interviews we shoot have 2 camera angles; we provided a few examples that show 2 angles of the same interview.
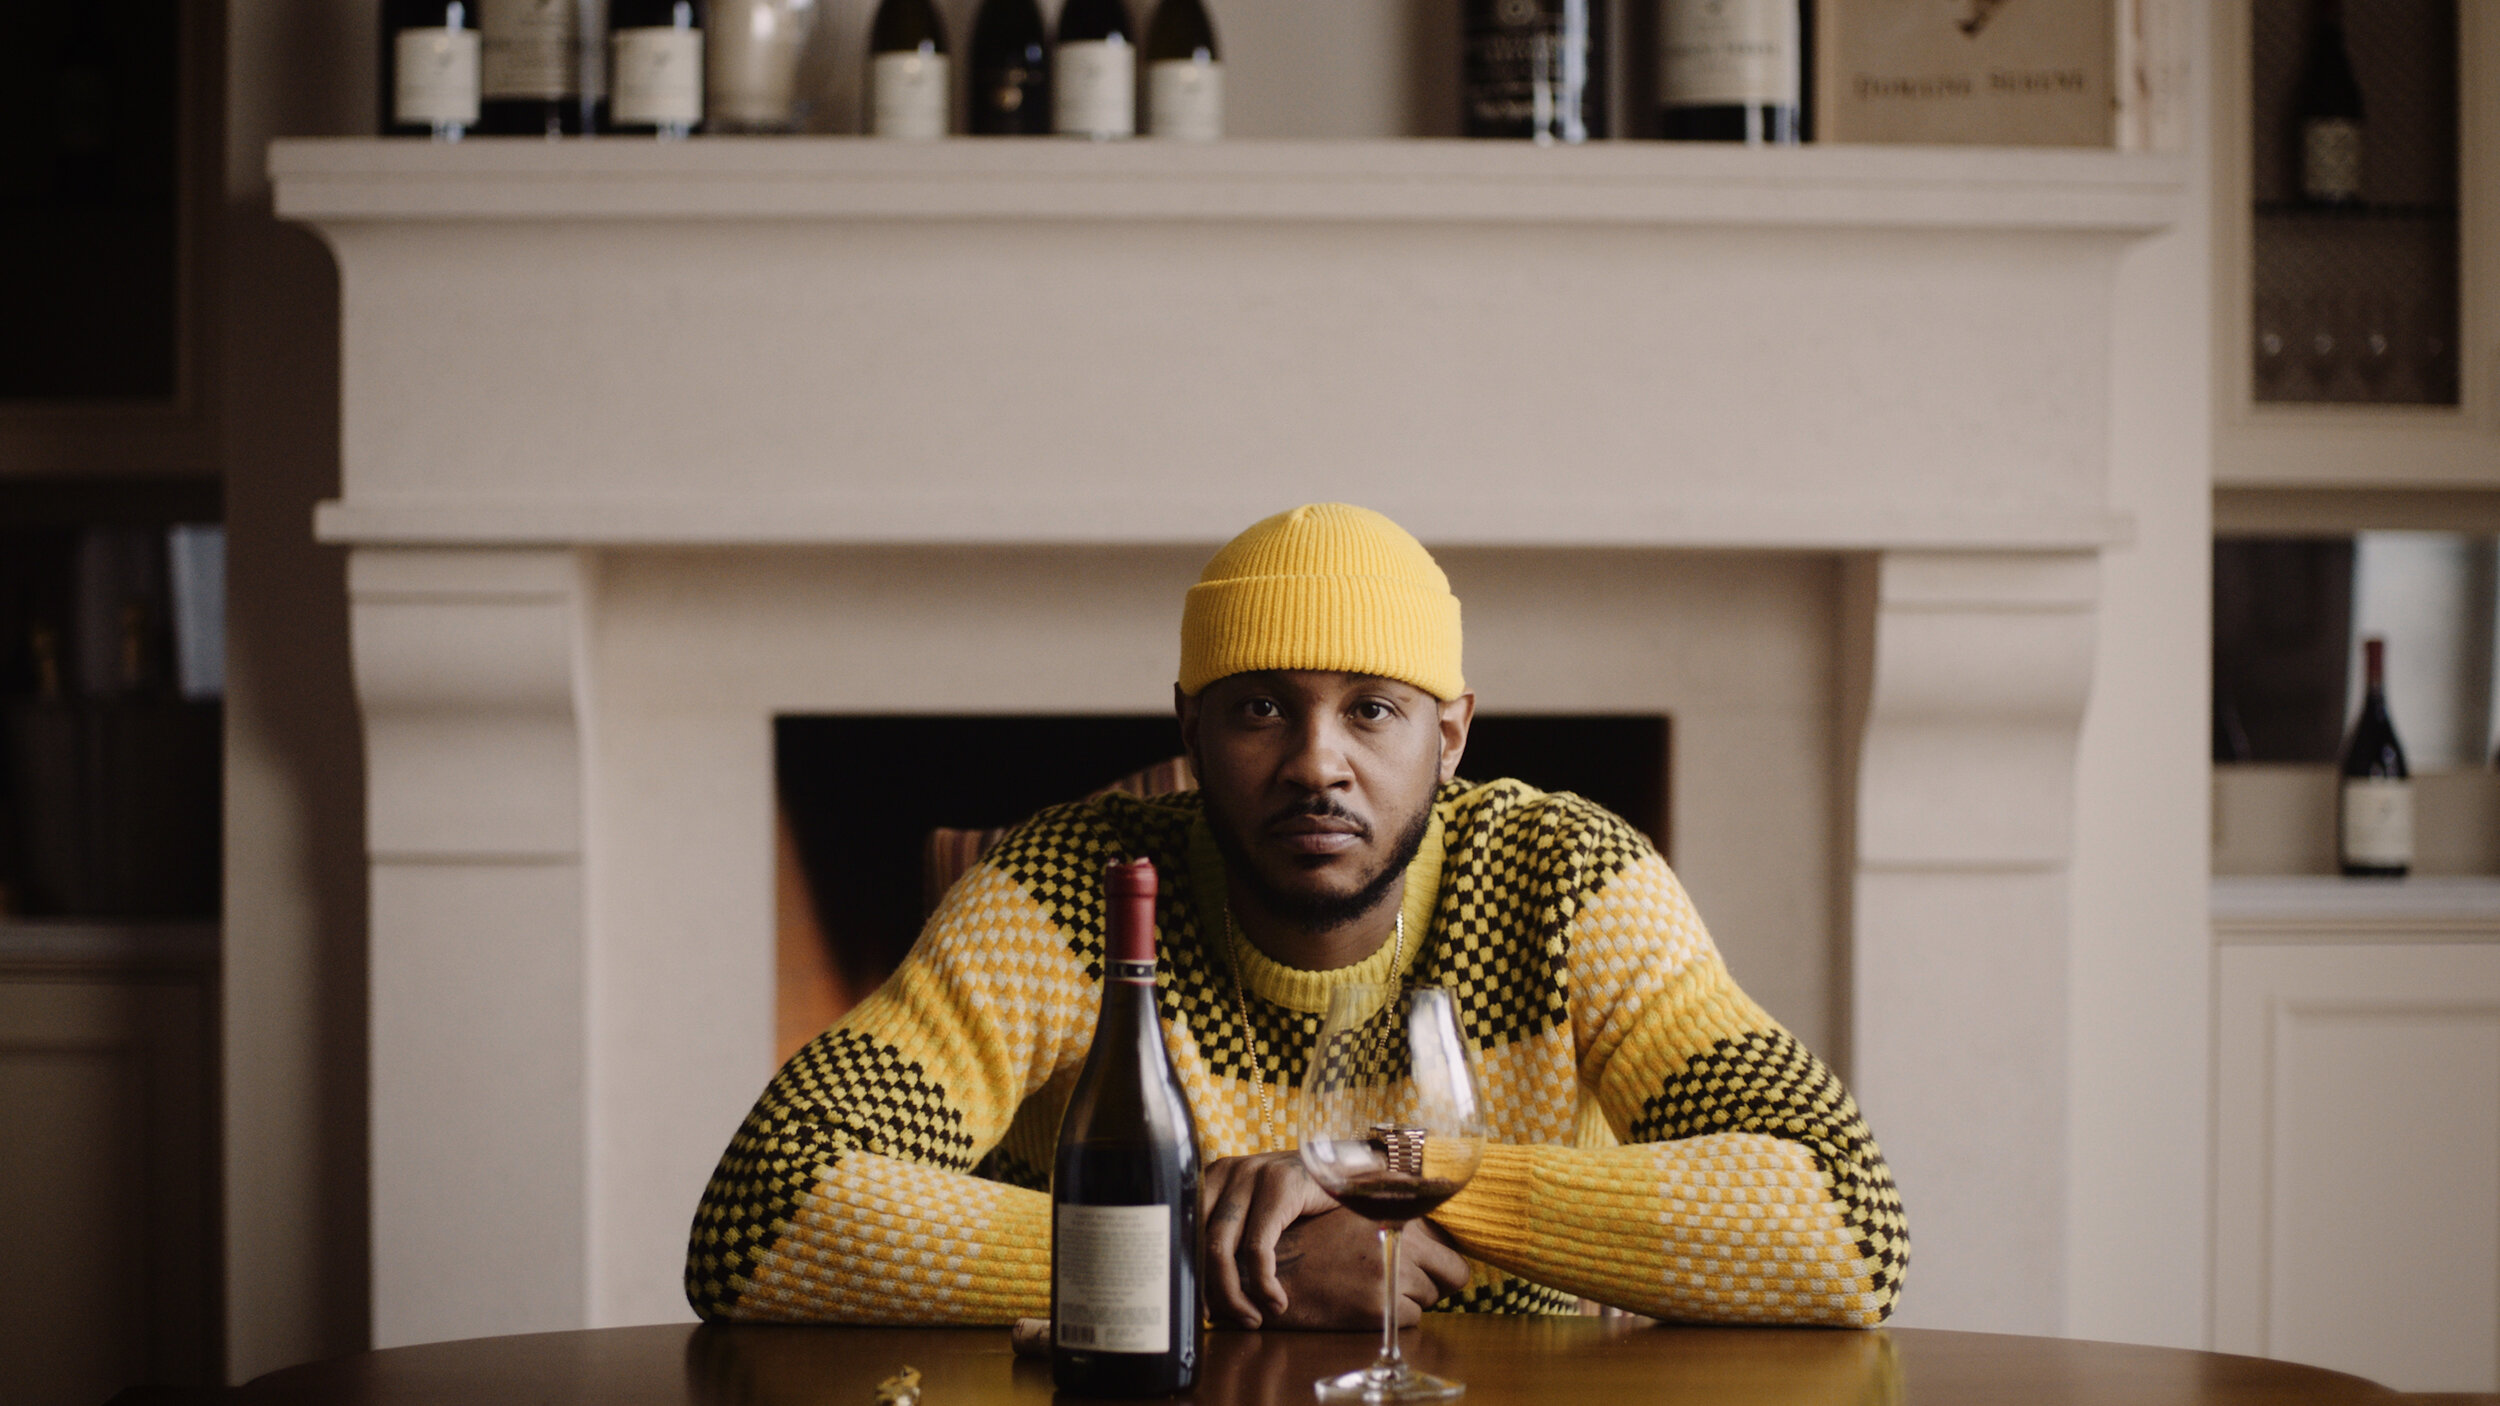
Traditional Eye-line: The subject is placed at about 1/3 of the distance from one side of the frame, with eyes about 2/3 of the way up from the bottom, and the eye-line is across the camera towards the “long side”, where there is more empty space. Lower-third titles are typically placed on that long side.


Short-Siding: AKA negative-framing. In the last few years it has become trendy to frame the subject so that their eye-line looks to the “short side” rather than the “long side” you see in traditional framing. Titles are still typically placed on the long side. This has been used to express stress or illness in a character, but it has been increasingly common to use it simply for aesthetic reasons and to make the footage stand out.


Direct to Camera: It is also common to have the subject look directly into the lens. This is achieved by either asking them to look into the lens or by using the trick of an “interrotron”, or mirrors to allow them to see an interviewer’s face instead of a lens. This style can have a more intimate feeling, or create the impression that the subject is addressing the viewers directly. A consideration is that when an interrotron is not used, this can make some subjects feel more self conscious.


Head Room: “Head room” is the amount of space between the top of a subjects head and the top of the frame. This naturally changes depending on whether it is a wide or a tight shot, but traditionally the top of the head falls close to the top of frame as the eyes are placed about 2/3rds of the way up. However, in recent years it has become fashionable to have more headroom, sometimes to a very striking amount. One important consideration here is sound. With extreme amounts of headroom it can be difficult to get a boom mic close enough for optimal sound; it is important to have a very quiet location and/or use a hidden lav mic.

Aspect Ratio: The aspect ratio of the interviews should match that of the rest of the film, unless there is a specific stylistic choice to not do so. The aspect ratio should be determined before production begins. The most common standard is 16:9, the ratio of virtually every home television. However in recent years it has become very common to shoot in much more widescreen formats like 2.4:1 (or 2.35:1, or 2.39:1, and sometimes called cinemascope). These days people also sometimes choose to shoot 4:3 (the old TV format, also the format of old 35mm films) or even 1:1 square or 9:16 vertical; the reasons for this can be to take up more space on a telephone (think Instagram posts), to allude to a different time period, or to just have a style that stands out.
The most common decision is whether to shoot 16:9 or the wider 2.4:1. The wider aspect ratio is achieved either by filming with anamorphic lenses and camera settings, or by using typical spherical lenses and cropping the top and bottom of the frame off in post-production (a simple process). Below, the cowboy was shot with an anamorphic lens in a 2.4:1 ratio, and the man with glass was shot with spherical lenses in a 16:9 frame, and is also shown cropped to a 2.4:1 ratio.


Cropping spherical lenses is often used to get the feeling of big budget cinema without the expense or difficulty of anamorphic lenses. But shooting with anamorphic lenses does more than just achieve that wider aspect ratio; at any given focal length, twice as much width is added to the frame, so when using a 65mm lens you maintain the depth characteristics of a 65mm with the width of a ~32mm. With the cowboy interview notice the feeling of a longer lens combined with all the width that captures his surroundings. In other words you are adding twice as much width instead of slicing off the top and bottom of the frame. We have cropped the image above to show what the framing would look like on a spherical (non-anamorphic) 65mm lens in 16:9 and a cropped 2.4:1. In addition to this, anamorphics have characteristic and dramatic lens flares and bokeh (out of focus area), “breath” more when the focus, have more barrel distortion, and are softer lenses in general. Below are some examples of the different textures that these lenses achieve.


